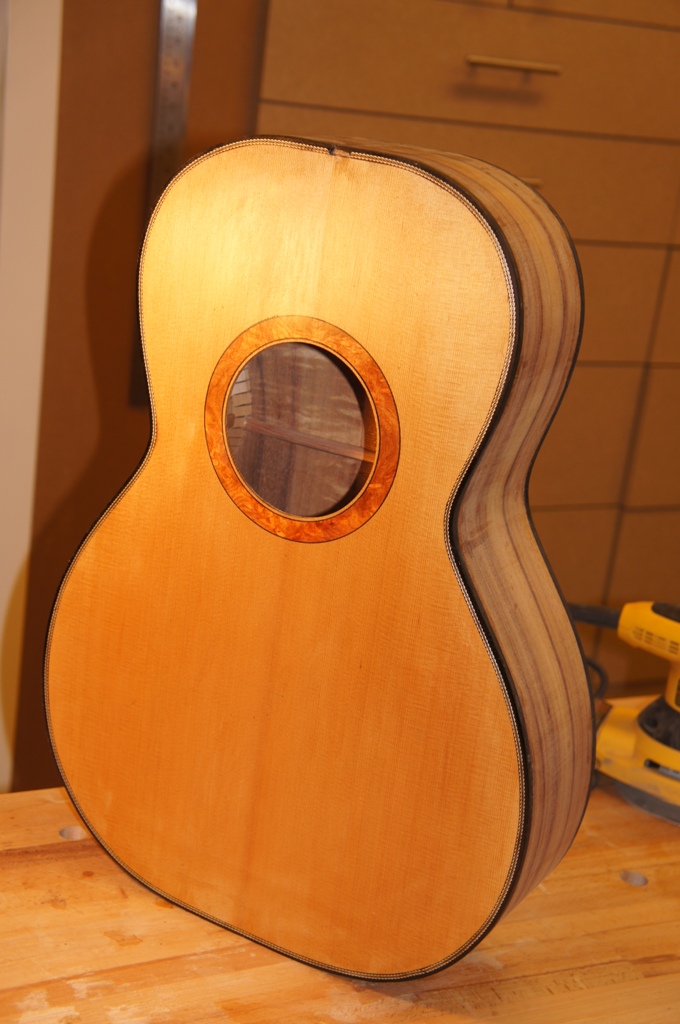
I made it through the scary parts routing out the binding rebates and the purfling rebate.
I am excited about the binding as it is setting perfectly flush on the side and top, so I can
avoid ending up with thin bindings.
As you will see in the picture I am using purflex (from the makers of zipflex) on the top.
It looks like a laser cut pattern in wood glued into a rubber base. The back I am using just ebony
bindings. I glued up the bindings on the top with two thin teflon strips that made up the same
size as the purflex.
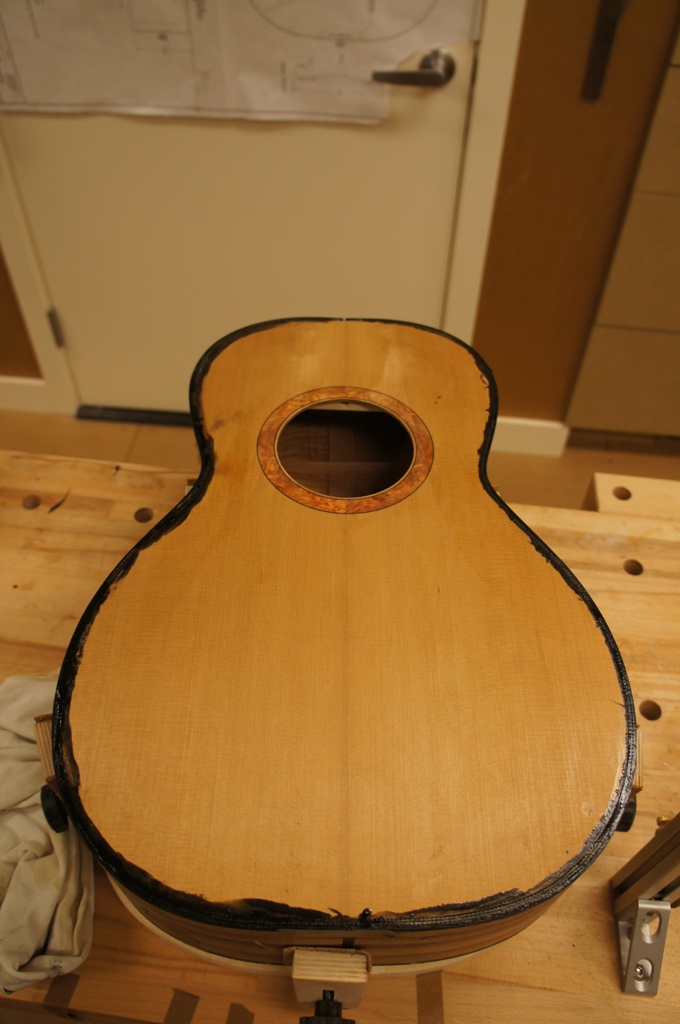
The final picture shows the purflex just sitting in the slot. When I finished my second (and last) glass of wine I thought I would stop for the night.
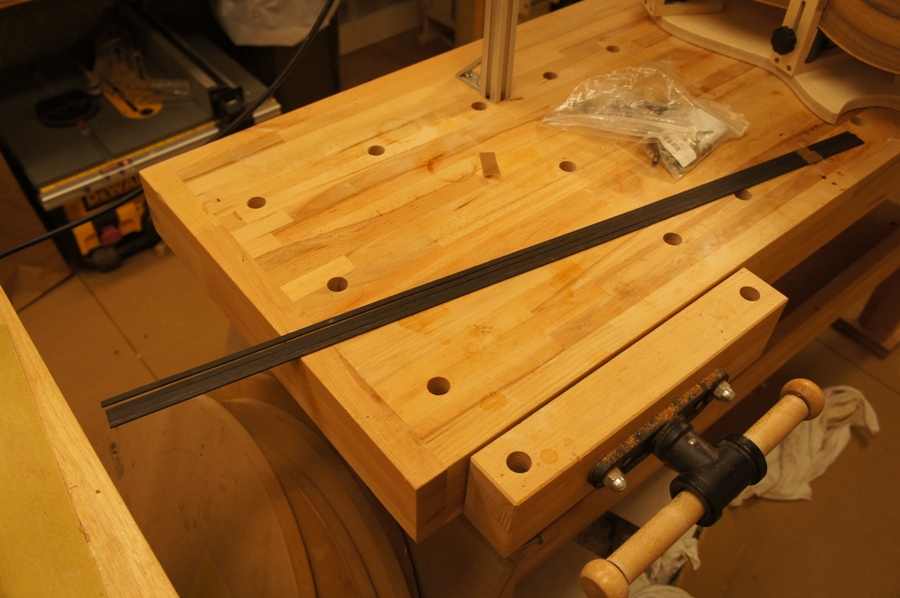
I taped 4 strips of ebony binding togther for bindings.
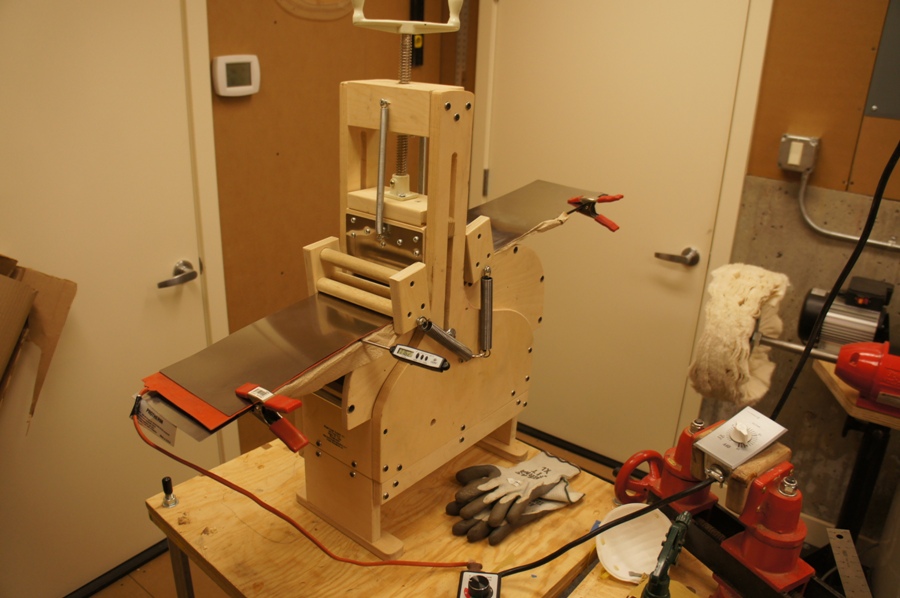
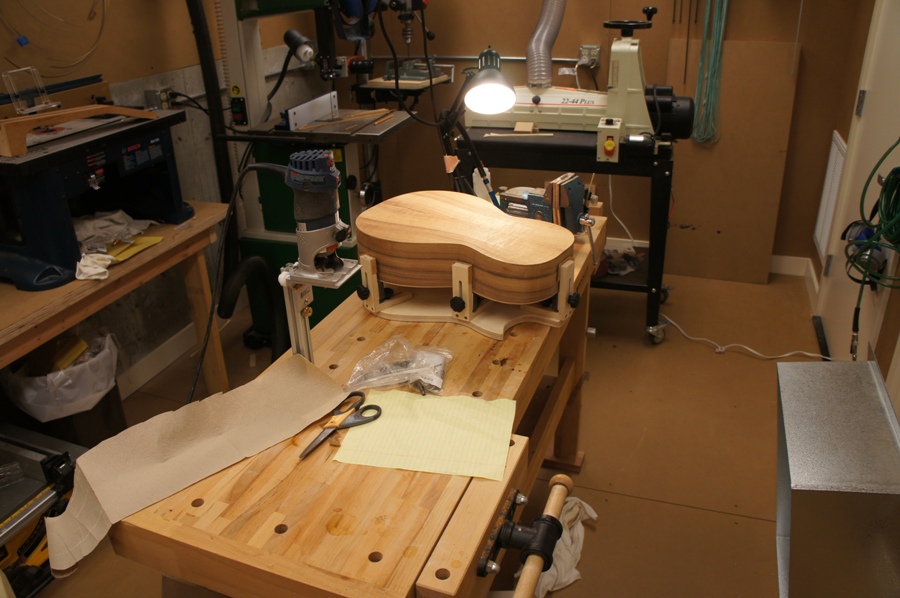
Using my Blues Creek bender.
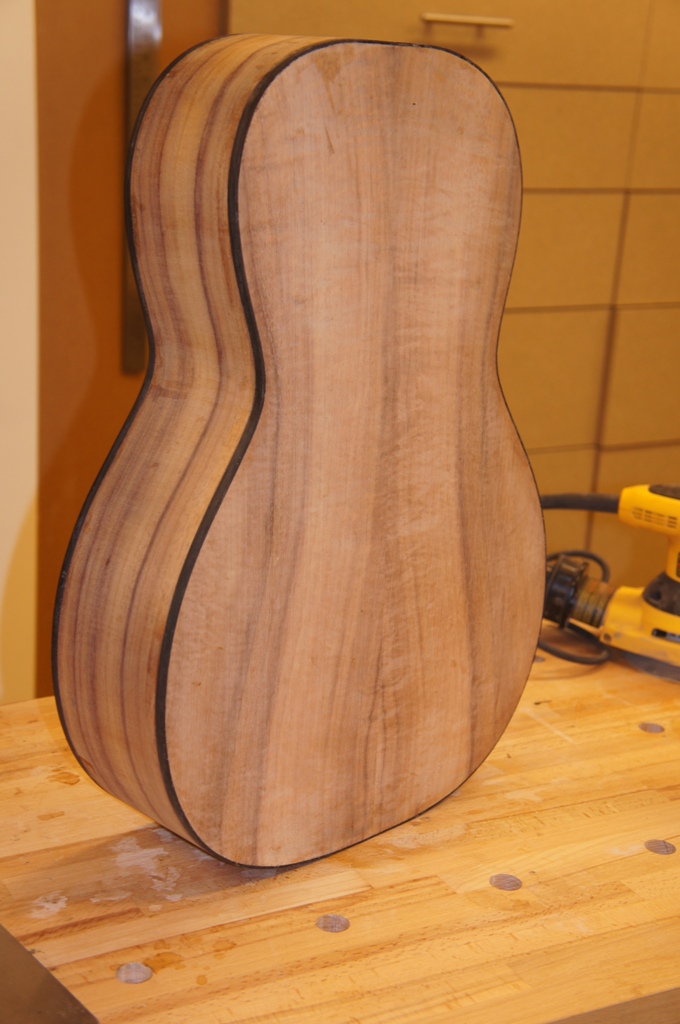
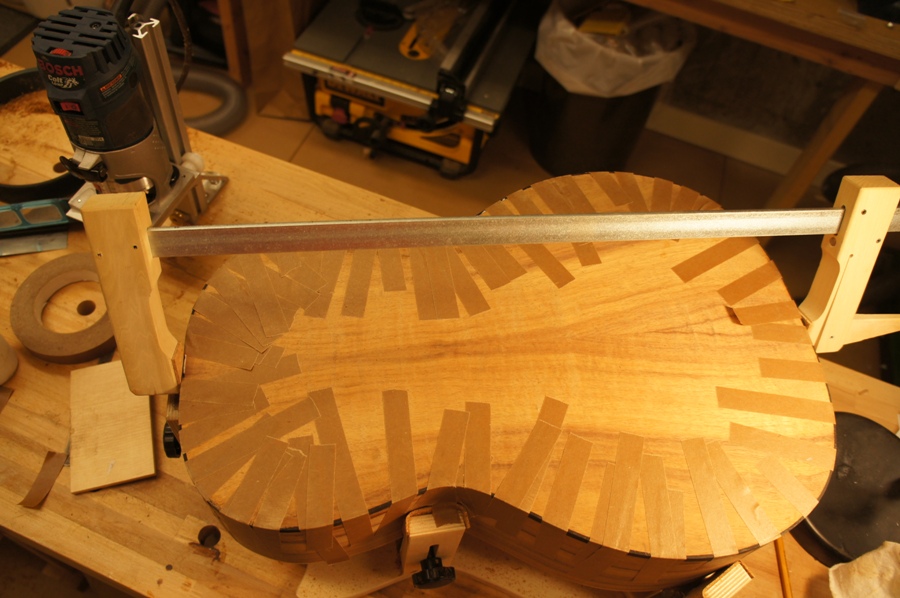
While waiting for the bindings to set I cut the rebates for the back bindings. I use the stewmac tool with their bearing router bits as well. Becasue I am using standard sized bindings from LMI they the kit had the perfect bearing
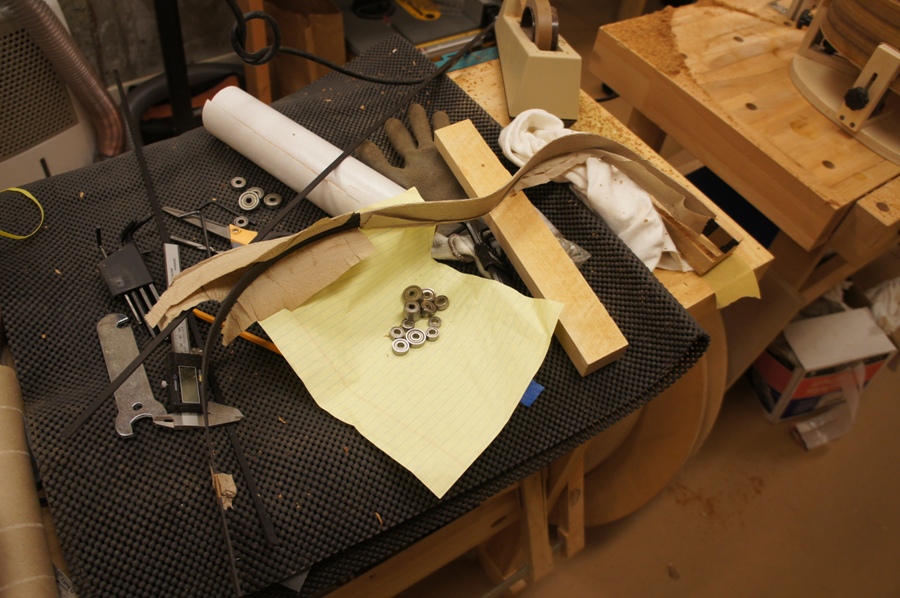
Here in my growing mess are the bent bindings. I rushed them so there is a lot of spring back. But no problem as they will easily bend into the rebates.
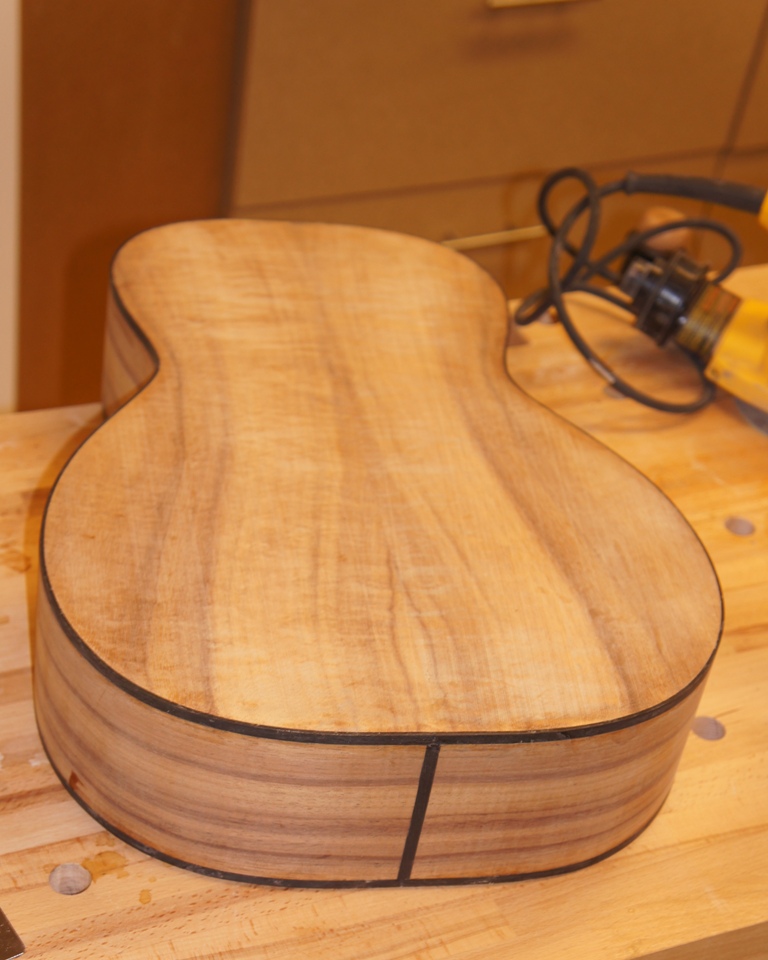
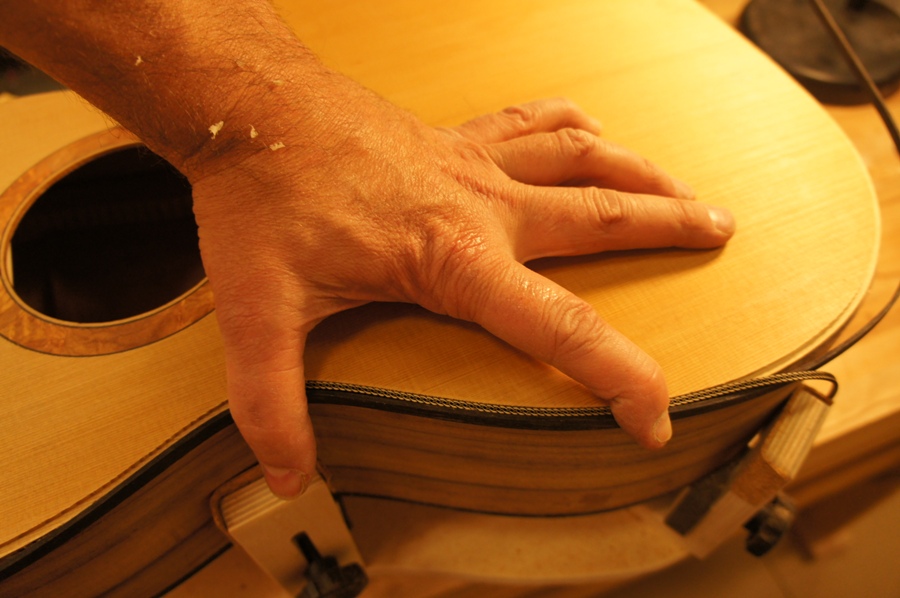
I fit the binding before gluing them on.
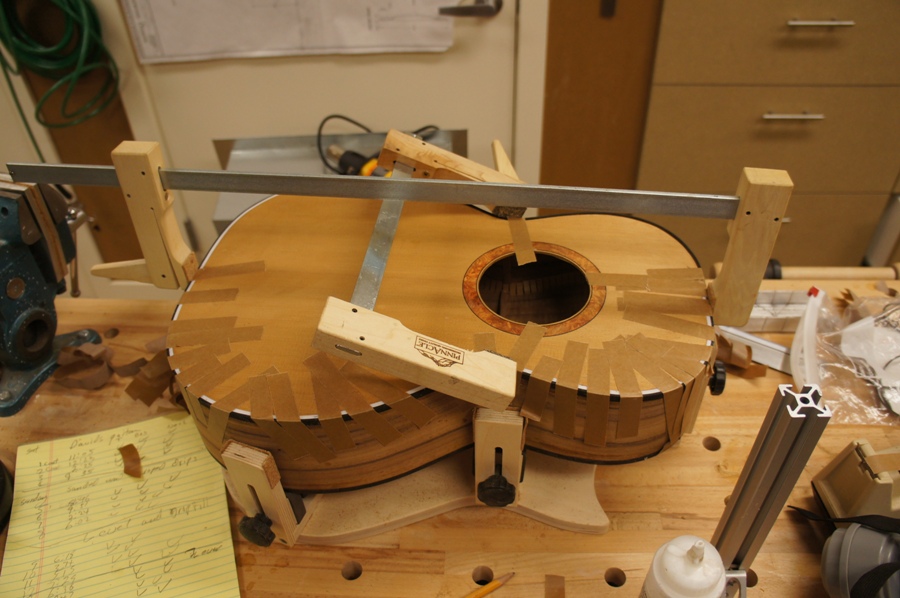
Rick taught me the trick on the ends with the extra long cam clamp. It helps assure nice joints.
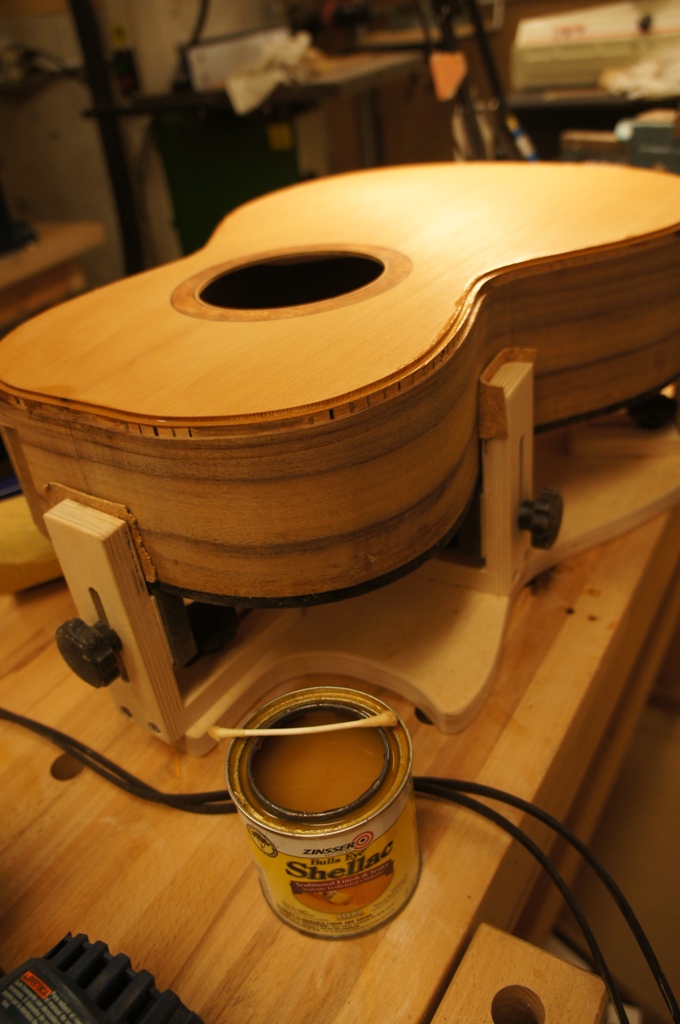
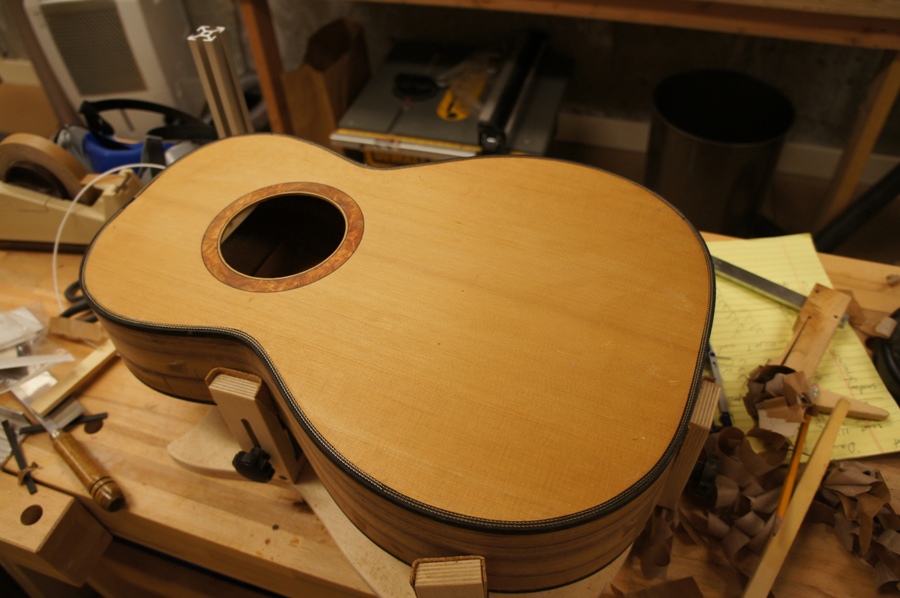
Before and after routing the for the bindings and purflings on the top I coated the top and the purfling rebate. I am going to use CA for the purflex and I do not want to ruin another top.
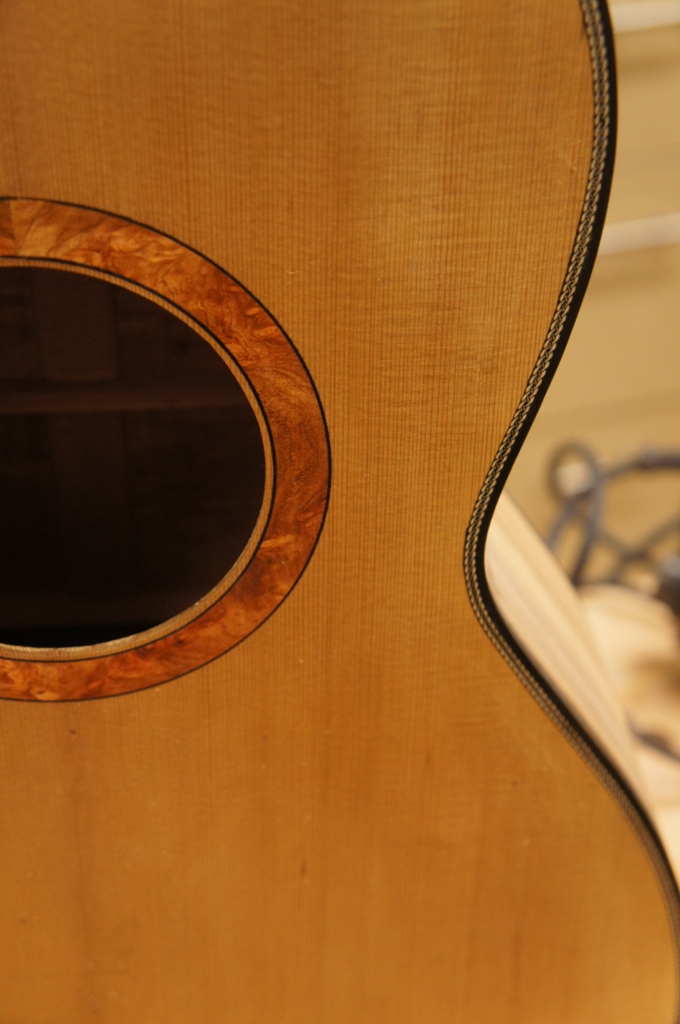
Here is the look I am going for with the purflex
One side. Note the teflon strips in the purfling rebate.
Let the second side cure. I only have enough teflon for one side at a time
The purflex is just setting in the rebates now. I will glue and fill tomorrow.
Dec 11th 2011
Well, After destroying a top at this stage with purflex when using it for the rosette,
I have to say I was nervous. Less so as I had shellac on the top and the purflex
(it can stain as well); also I tried it on the portion covered by the fret board.
But all came out OK. I mostly used a scraper to clean up everything.
Dec 11th 2011
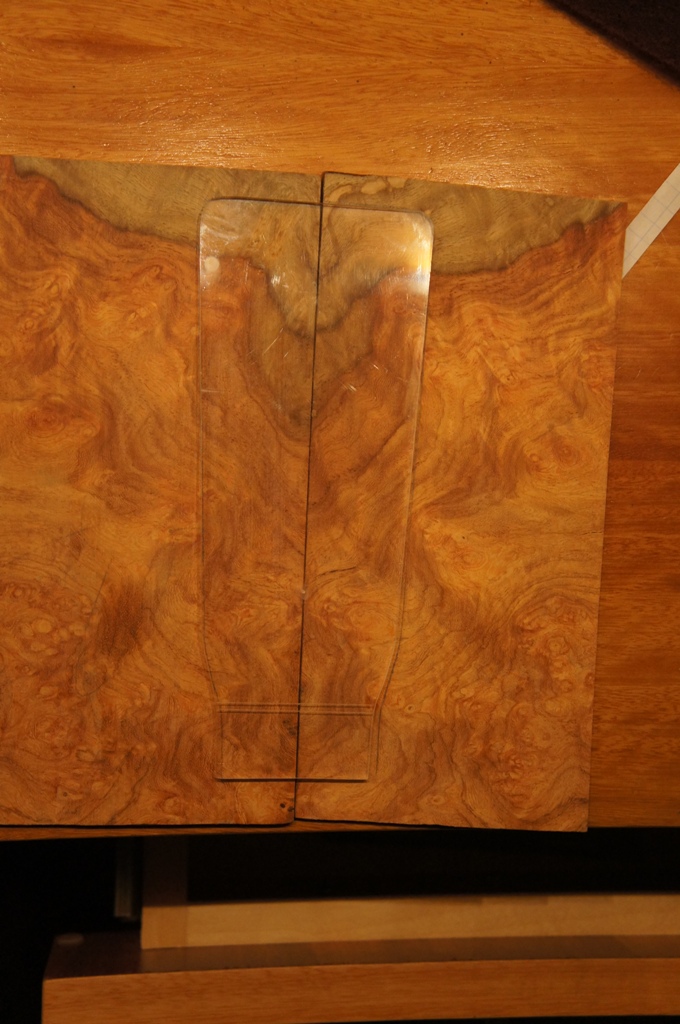
I resawed a couple of veneers from my block of amboyna burl. Thanks to my new carter's
bandsaw bearing upgrade kit, multiple times I was able to cut out nice cleanly cut veneers
for the headstock to match the rosette.
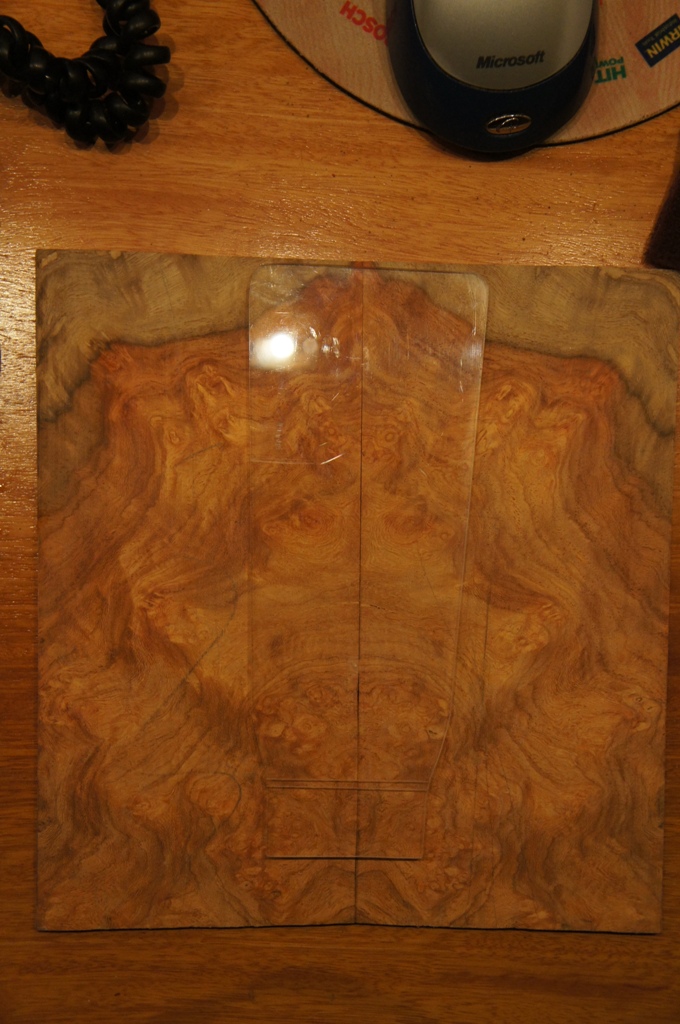
I had a cople of ways to book match one way had a lot of the amboyna type swarels but looked
to scary, the other way has nice sapwood color so I in going that way. The first picture.

 Using my Blues Creek bender.
 While waiting for the bindings to set I cut the rebates for the back bindings. I use the stewmac tool with their bearing router bits as well. Becasue I am using standard sized bindings from LMI they the kit had the perfect bearing
 Here in my growing mess are the bent bindings. I rushed them so there is a lot of spring back. But no problem as they will easily bend into the rebates.
 I fit the binding before gluing them on.
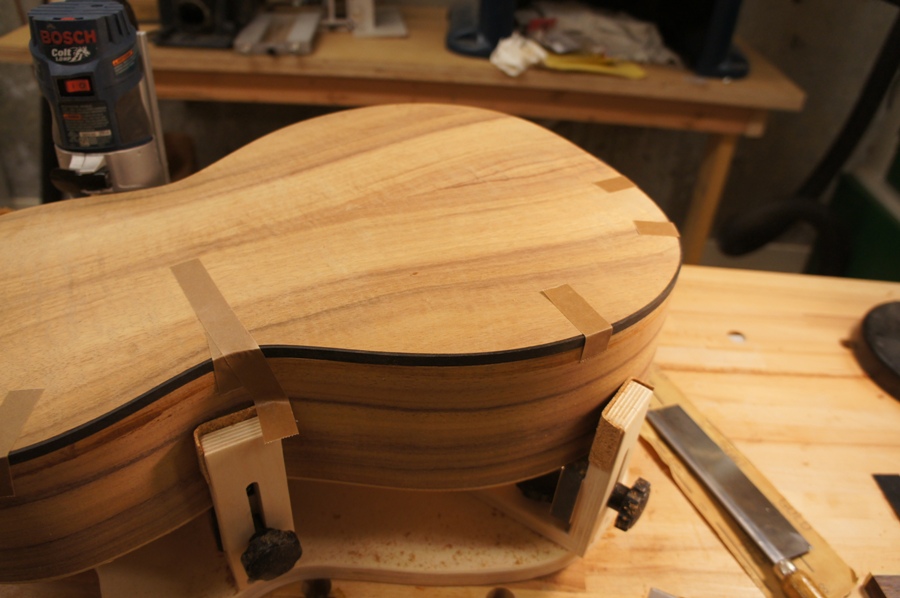 Rick taught me the trick on the ends with the extra long cam clamp. It helps assure nice joints.
 Before and after routing the for the bindings and purflings on the top I coated the top and the purfling rebate. I am going to use CA for the purflex and I do not want to ruin another top.
 Here is the look I am going for with the purflex
 One side. Note the teflon strips in the purfling rebate.
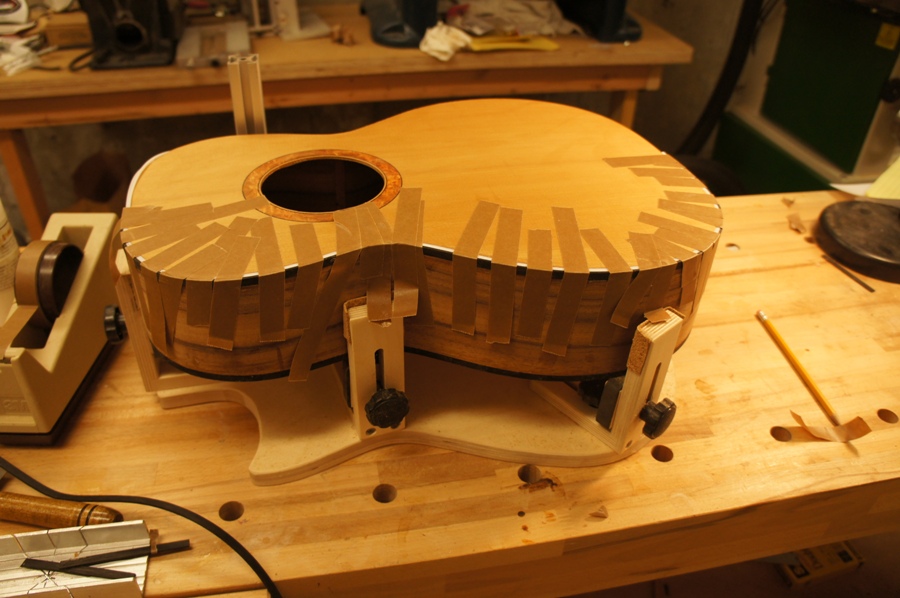 Let the second side cure. I only have enough teflon for one side at a time
 The purflex is just setting in the rebates now. I will glue and fill tomorrow.
 But all came out OK. I mostly used a scraper to clean up everything.